
Although biofumigation might be a scary sounding word it is a simple process that is 100% safe and effective. I have used this method for solving many of my plant's fungal disease problems.

The reason so many people do not use biofumigation is because it is not a well-known process. I will tell you exactly what biofumigation is and how to implement it into your home garden for better plant health.
What biofumigation is
Biofumigation is a better-known process on large scale agricultural farms in the US. The process begins by planting a large cover crop of brassicas like broccoli, nasturtiums, collards, or mustard.
Once the brassicas are planted, they are left to grow till they are fully mature and flowering. Then the entire plant is chopped and tilled into the soil. They will then irrigate the field heavily and cover it in dark colored tarps.
Why is biofumigation used
There is one simple reason that farmers use biofumigation and that is for an alternative fungicide. Most fungicides use harmful chemicals that kill the soil life while also killing soil borne pathogens and fungi.
By using biofumigation on large scale farms they can naturally kill the bad fungi that are killing their plants while keeping the good fungi. This eliminates the use of synthetic fungicides.
How does biofumigation work
The leaves of brassicas contain a compound called glucosinolate. Simply put, this compound has great fungicidal properties to it.
Once these compounds are incorporated into the soil, they kill off the fungal diseases and even harmful nematodes. I have used this technique to take care of late and early blight on my tomatoes and it works every time.
Benefits of biofumigation
There is a plethora of benefits to using biofumigation instead of synthetic fungicides. Number one, you eliminate the use of chemicals that are harmful to both your garden's ecosystem and your health.
Secondly, it kills off those fungal disease that can be so devastating in the garden. Finally, it is the cheapest fungicidal you can get your hands on.

Two methods for use in the home garden
You may be thinking well that's great and all, but how am I going to use this in my small garden, and I have the answer. Here are some step by step instructions to help you implement biofumigation in your garden.
Blender method
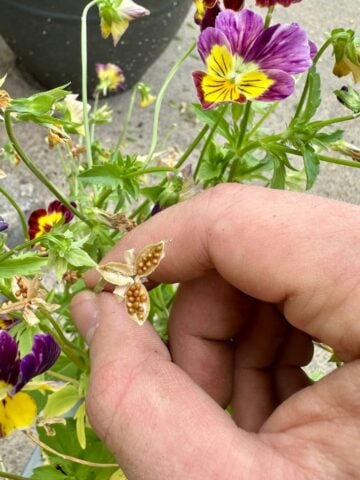
- Grow some type of brassicas like collards, cauliflower, mustard greens, nasturtiums, or broccoli.
- Once the plants have plenty of leaves, harvest a good sized handful. This will make one quart of biofumigant. (You must work fast for this next process as the leaves can lose their full effect after fifteen minutes of being harvested.)

- Gather your leaves and put them in a blender with about one quart of water.
- Pulse the leaves till you can not see them anymore, and the water is green.
- Strain out the larger pieces with a sieve and pour the water into a watering can.

- Drench the soil and plants that have had or are expected to have fungal disease issues. (You could even use this on your fruit trees.)
- Spread the strained pieces over the soil and work it in to the top inch of soil.
Tilling method
- Start by growing a cover crop of brassicas in your garden.
- When the plants start to flower mow them down to the soil.
- Immediatly, after mowing, incorporate them into the soil by hand or with a tiller.
- Once the garden is tilled, water heavily and cover with a dark colored tarp for a week or two.
I have used the blender method in the garden simply because I do not need to biofumigate my entire garden area.
If you do have a larger garden that has fungal issues I would recommend the tilling method, but if you have a smaller garden just use the blender method.
Ways to use biofumigation in the garden
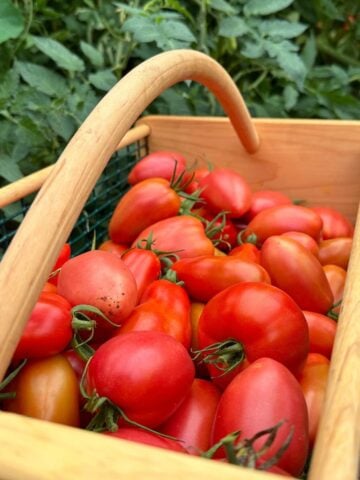
Here are some ideas for using biofumigation in your garden. I use it before I plant my tomatoes in the spring to kill off early and late blight in my soil.
You can use this on your cucumber plants to kill powdery mildew. You could even spray this solution on your fruit trees to deal with those fungal diseases. There are really no limits to using biofumigation in the garden.

How long does it take biofumigation to work
Biofumigation starts working immediately after coming in contact with the soil. I have mainly used this as a preventative in my garden, but you can use this to treat fungal diseases.

Does it even work
I can tell you that I have found biofumigation to be very effective in my garden. I used to have awful blight on my tomatoes that would kill them.
There were fungicides out there that would cure my problems, but I knew the harms that came from these products, and refused to use them. After losing many tomatoes to blight I started researching natural fungicides.
This is when I stumbled upon biofumigation. The only problem was all these articles were explaining how to use it on a large-scale farm. So, I came up with my own recipe and it has worked for me every year, and it can work for you too.
Pin This!


Leave a Reply