
Gardening isn't just about growing food and flowers; you can also grow your own sponges! Here is how to grow luffa from seed and get natural sponges.

If you didn't already know, luffa sponges come from luffa gourds. These gourds have a very fibrous interior that makes them great for cleaning.
Luffas can also be eaten when they are young, but I have never tried them. Instead, I choose to grow luffas for natural fiber sponges.
I will be the first to tell you that luffas can be difficult to grow. Here is my step-by-step guide to growing your own luffa gourds.
Step 1: Choosing a good planting spot
Luffa plants are basically from the tropics and they love both sun and heat. When choosing a spot to grow luffa plants I would look for the hottest/sunniest part of your garden!
I live in USDA zone 5 which means we have short and cool summers. I have had great success growing luffas in my greenhouse in a large pot.

With the right care luffa can be grown outdoors in zone 5. Just know that you may not have success every year.
Also look for an area that has well draining soil. Luffa gourds need to be well watered, but too much can rot the roots.
Step 2: Planting your seeds
I start my seeds indoors right around the time I start my peppers and tomatoes. Anywhere from 8-10 weeks before your last frost is a good time to start the seeds.
I scarify my seeds and soak them for 24 hours before planting. I use nail clippers to nick the seed coat which allows water to penetrate the faster.

Scarifying the seeds will result in higher germinations rates.

Luffa plants hate for their roots to be disturbed. That is why I start them in these biodegradable pots.
Soil blocks would also be a good option to start luffa plants in.
Step 3: Transplanting Your Luffa Plants
After a few weeks of growing in their pots/soil blocks your luffa plants should have some "true" leaves. If you are planting them outdoors wait until the chance of frost is well past.
Luffa plants will not tolerate any cold weather so make sure your nights are at least above 45oF before transplanting. Ideally it should be above 50oF.

I grow my luffa gourds in my greenhouse so I get to plant them before the last frost date. Always handle the luffa plants gently and don't disturb their roots when planting.
I use peat pots so I do make an some cuts in the pot to allow the roots easy access to the new soil they are planted in.
Growing Luffa gourds in containers
Even though luffa gourds have extremely large vines they can be grown in containers. I use an old nursery tree pot for my luffa gourds.
I would say this pot holds at least 10 gallons of soil and my gourds thrive in it! If you do grow luffa plants in containers just make sure to provide support for them.
Make sure you are using good potting soil for your plants if you grow them in containers. I like to amened my potting soil with Trifecta+ fertilizer.
Step 4: Trellising Luffa Plants
Luffa vines can grow up to 30 feet in length! With this long of a vine you will need to provide good support.
I have a trellis in the back of my greenhouse that I let my luffa plant grow on. I also use twine and twigs (from pruning our fruit trees) to make another trellis along the side of my greenhouse.

If you are growing luffa plants outdoors I recommend using a cattle panel trellis. You could make it just like my cattle panel cucumber trellis.
Step 5: Pollinate your flowers
Since my plants are in the greenhouse there are not enough bees around to pollinate the flowers. I would see them in the greenhouse, but they just didn't get the job done.

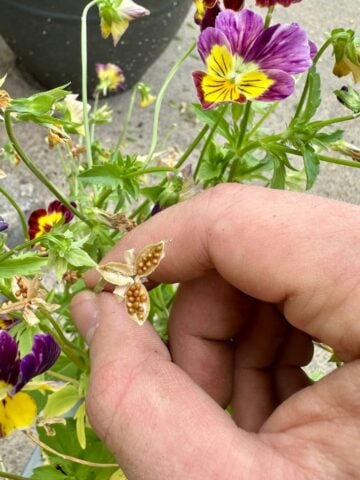
I took matters into my own hands and hand pollinated my flowers. Once I did this I started seeing tiny luffa gourds hanging off the trellis!
If your fruit is just falling off the plant, or rotting, it could be that they aren't getting properly pollinated. Just hand pollinate the flowers and watch the fruit appear.

Step 6: Harvesting
Luffa gourds take a long, long time to grow. Even though you started seeds back in March/April your gourds aren't ready to harvest until September/October.
I was worried that my gourds wouldn't have enough time to mature and dry out on the vine. It is recommended that you leave the gourds on the vine until they turn brown and the seeds rattle.
My gourds were still green and the first frost was quickly approaching. That is when I made the decision to just pick them green, and guess what... It worked!
I was able to just pull the green skin off the luffa and was left with the fibrous interior. There was more of the gel (similar to the inside of a cucumber) to wash out which did take some time.

After much rinsing and squeezing I finally got all the seeds out and had my very own luffa gourds. I set them in front of a fan to dry and stored them for later use.

Step 7: How to use luffa gourds
Luffa gourds can be used for cleaning dishes, showering, or anywhere else you might use a scour pad or sponge.
You can use them whole or cut them into smaller pieces. I cut my gourds down the center and used thread to make soap bags for the shower.
There really are so many uses for luffa gourds so get creative!
Pin This!

Leave a Reply