
Some seeds need extra heat to germinate and that is when having a heat mat is a must. Here is a guide to help you learn how to use a heat mat for seedlings.

When I started growing my own seedlings I wondered how many gadgets I actually needed. I quickly learned that many of these items are very useful when starting your own seeds.
Here is a list of supplies you should have to start your own seedlings. On that list is a heat mat which is a must for heat loving plants.
How are you supposed to use a heat mat? How do you find a good one? Here are all the answers about heat mats and the proper way to use them.
What Type Of Heat mat should I buy
When shopping for a heat mat I recommend looking for one that comes with a thermostat. I personally use this heat mat thermostat combo.

If you already have a heat mat you can buy a thermostat separately here. The probe of this thermostat goes into the soil and keeps it at the perfect temperature for germination.
If you use a heat mat without a thermostat it can overheat and harm your seedlings.
What Plants Need A Heat Mat
Heat mats are only used for germinating seedlings. Once your seeds emerge from the soil you need to turn the heat mat off.

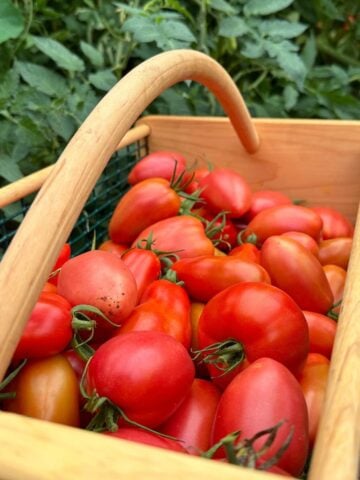
Many heat loving plants like tomatoes and peppers need the soil to be above 70oF in order to germinate. Room temperature isn't going to cut it for these plants.
Below is a list of vegetable and flower plants that need a heat mat.
Plants That Need A Heat mat
- Tomatoes
- Peppers
- Tomatillos
- Okra
- Eggplant
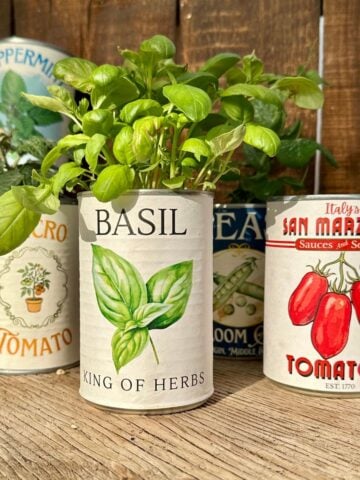
- Basil
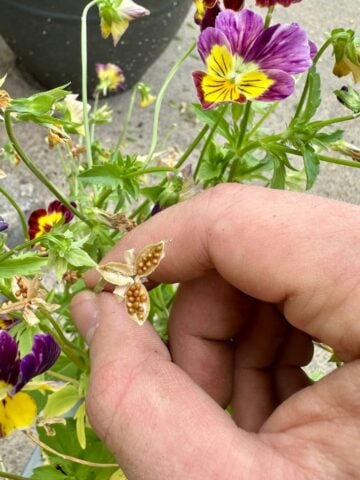
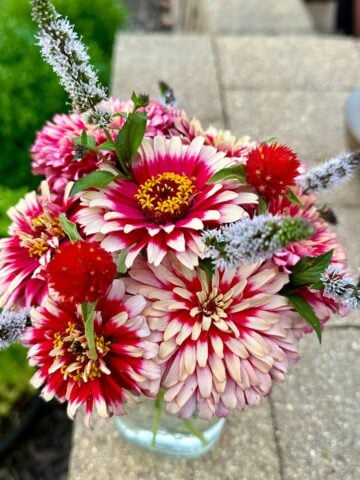
- Zinnia
- Cucumber
- Squash
These are all the plants that I use a heat mat to germinate. If your house is colder that 68oF you may need to use the heat mat for more plants.
When in doubt simply look up your specific plant's seed germination temperature.
How To Properly Use A Heat Mat
Heat mats are only used to germinate plants so you won't need them for the whole time you are growing seedlings.
Start by getting a plastic seed starting tray. These trays are water proof and will keep your heat mat from getting wet.
The next step is to place the seedling tray on top of your heat mat (it should cover it perfectly). You can now place your pots in the tray.
I use the small seed starting cells which take up less place. With this technique I only need one heat mat for all my seedlings.

Once this is all set up plug your heat mat in, set the thermostat, and place the thermostat probe into the soil of a pot in the tray.
As soon as all your seedlings germinate you can turn the heat mat off. Voila, you now have lots of health plants.
Other heat mat tips and tricks
If you want to start tomato or pepper plants I believe having a heat mat is a must! It greatly improves germination rates and seedling health.
Here are some other tips to help you use a heat mat properly.
You Can Overheat Your Seedlings
With a heat mat, more is not always better (or in this case hotter is not always better). You can overheat your seedlings and kill them.
Don't go over the recommended heat for your seedlings and certainly don't use it for cool weather crops.
Check Your seed Packets For Temperature Requirements
Some seed companies will add the germination temperatures right on the seed packets. Read your seed packets to see if you have the correct temperature.
Heat Mats Only raise the temp 10oF-20oF
Heat mats should only be used to reach a heat in a 10-20 degree range from air temperature. Don't expect a heat mat to heat to 80oF if your house is 40oF.
Pin This!

Leave a Reply